Auto-Annotate Tips & Tricks
Darwin fundamentals
Darwin advanced

Play video
5:56

Play video
5:56

Play video
5:56
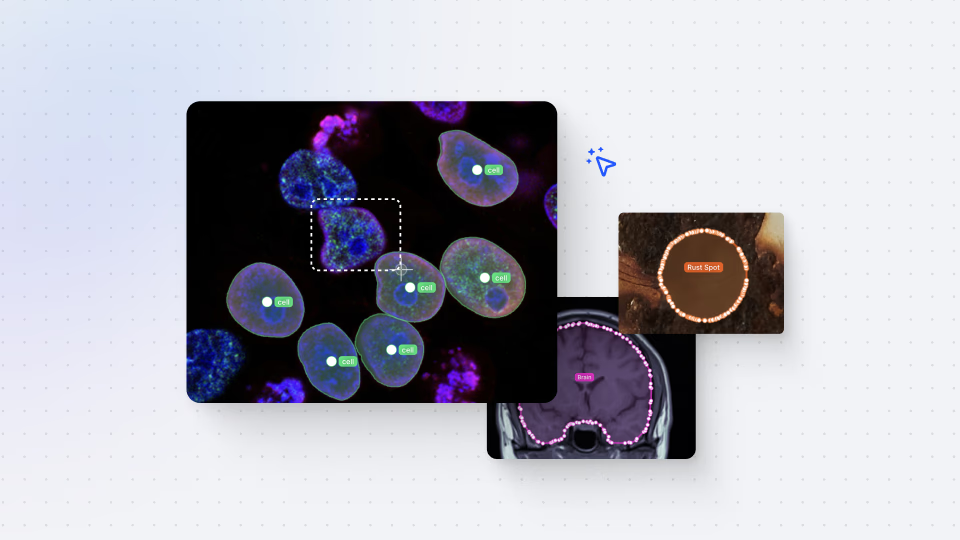
The Auto-Annotate feature in V7 can automatically segment objects without the need for loading specific models. It uses a generalized neural network that has been trained on a wide range of items. All you need to do is draw a rough bounding box around the object, and Auto-Annotate will take care of the rest.
The video will guide you through the process of using Auto-Annotate in the most effective way. One important aspect is to provide enough padding around the objects in your bounding boxes. This ensures that the AI can produce more accurate results. You will also learn how to fine-tune the segmentation by including or excluding specific parts of objects.
The collaboration between you and the AI comes into play when dealing with occluded objects or objects with unclear boundaries. Auto-Annotate will make its best attempt, and you can easily make corrections by adding or removing parts of the segmentation with just a few clicks. In a dedicated section, we also demonstrate how Auto-Annotate efficiently works with video data – enabling you to quickly create segmentation masks and interpolate them.
By the end of this video, you will have the necessary skills to fully utilize Auto-Annotate, making your annotation process smoother and more accurate. With the convenience of Auto-Annotate, you can save valuable time during annotation and achieve high-quality results without the need for manual pixel-by-pixel labeling.
Up next
3:49
Watch video

Auto-Annotate Tool
How does the Auto-Annotate tool work? We tackle accurate polygon and pixel-wise annotation masks.
3:49
Watch video

Auto-Annotate Tool
How does the Auto-Annotate tool work? We tackle accurate polygon and pixel-wise annotation masks.
3:49
Watch video

Auto-Annotate Tool
How does the Auto-Annotate tool work? We tackle accurate polygon and pixel-wise annotation masks.
16:35
Watch video

Annotations - Getting Started
We dive into image annotation and explain how you can get the most out of these impressive features.
16:35
Watch video

Annotations - Getting Started
We dive into image annotation and explain how you can get the most out of these impressive features.
16:35
Watch video

Annotations - Getting Started
We dive into image annotation and explain how you can get the most out of these impressive features.
0:52
Watch video

Comment Tool
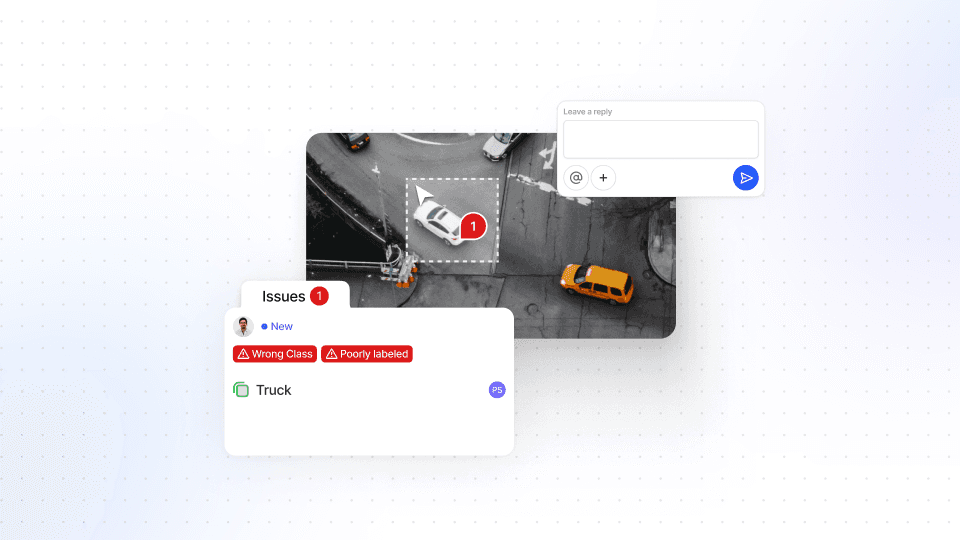
We explain the Comment Tool, outline how to leave comments on images - and how it benefits you.
0:52
Watch video

Comment Tool
We explain the Comment Tool, outline how to leave comments on images - and how it benefits you.
0:52
Watch video

Comment Tool
We explain the Comment Tool, outline how to leave comments on images - and how it benefits you.