Playbooks
How to Use V7 Workflows to Split Large Images Into Patches
6 min read
—
Dec 19, 2022
Learn how to use webhooks, V7 annotations and REST servers to split maps, aerial photos, and medical imaging into patches.

Casimir Rajnerowicz
Content Creator
Working with large image files can be a real headache. They take ages to load and use heaps of storage space. If you are using a cloud-based solution to manage and annotate large images, they may easily crash the app or your browser.
Large images can present a challenge when it comes to training neural networks, particularly when your GPU memory is limited.
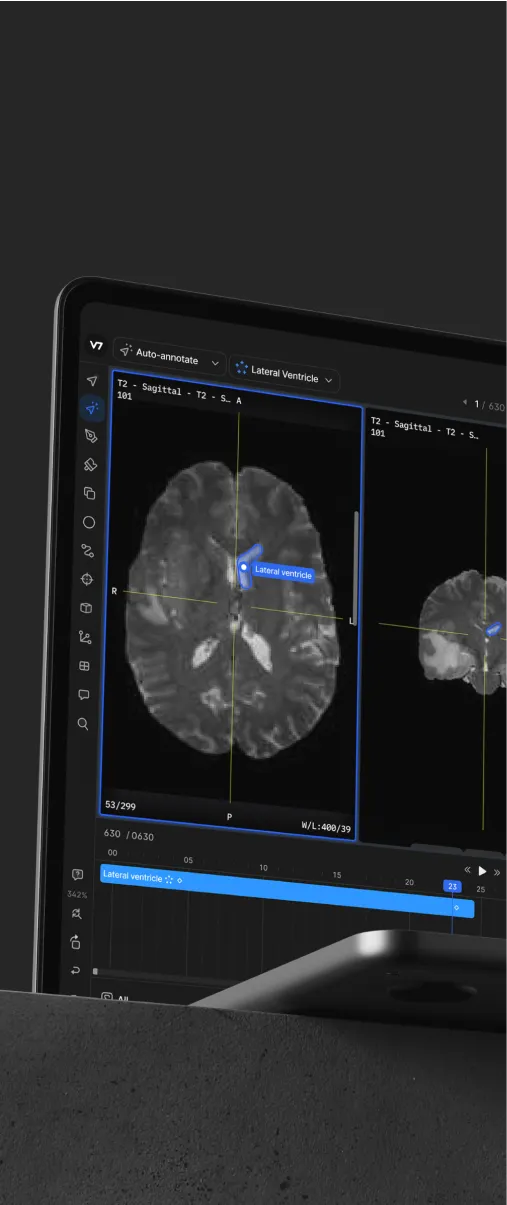
But with some types of data, for instance medical imaging, massive file sizes seem unavoidable. You can’t simply resize your images, as small objects (such as lesions) can be reduced to only a couple of pixels. This also reduces their value as AI training data to zero.
So, is there anything you can do to make working with large images easier?
There are two core strategies for different use cases:
Image tiling. It is good if you want to interact with the whole image at once. Tiling lets you view and work with large images in the annotation view without crashing your browser. It is used by apps such as Google Maps.
Generating image patches. Splitting the image into smaller parts is great if you need to reduce the image size without losing instances. It can also reduce the cognitive load when annotating a lot of instances.
V7 happens to support both.
Here is what image tiling looks like (notice how the details are rendered gradually after zooming in):

Tiled rendering breaks up large images into smaller pieces that can be loaded separately. This allows faster loading times and the ability to interact with the image in ways that would otherwise not be possible.
However, in some cases you don’t really need to work with that 2GB file. And if you can't eat the whole elephant in a single bite, it is best to divide it into smaller pieces.
This is where the second technique, image patches, comes in handy.
In this guide, we’ll focus at using an existing functionality in V7 to split large images into patches, and save them into a new dataset.

We’ll use an example Flask server using the V7 darwin-py python repository to produce patches from larger images and upload them to a new dataset.
It may sound intimidating but it boils down to 3 steps:
Setting up a local REST server
Adding a webhook to your dataset workflow in V7
Using annotations to select the crop area
Let’s go through them one by one.
Step 1: Set up a local REST server
REST servers let you exchange data between multiple systems by using web protocols (like HTTP). In the context of this tutorial, it means that we can set up a workflow using the V7 Darwin and use webhooks to connect it with a REST server that will slice images into patches.
Why are we doing it this way?
Webhooks paired with a REST server are the easiest way to trigger and execute custom code when an image moves between different stages of a V7 workflow. Once you set up your local server, you can use it for all sorts of custom behaviors, not just slicing images into patches.
This part is the hardest but once you are done with it, you can use webhooks to automate pretty much everything. All you need to do is write a bit of custom code that will do the job you need.
Now—
To set up the server you need to:
Make sure that you have Python, pip, Git, make, and Docker installed. You’ll also need to set up the V7 Darwin Python SDK and authenticate it with your API key.
Once your environment and all dependencies are set up, you’ll need to clone the repository for the server from GitHub.
Open your Terminal and clone the Webhook Patch Server repository with the following command:
Then, you’ll need to navigate to the server directory and run the following command to build and run the server:
Use the terminal to navigate to the newly created folder (by default it is /Users/[your name]/webhook-patch-server/) and type in:
Then, we need to set up a variable with our API key.
For Windows type:
If you are using Linux/Mac, write:
And here is the last command. To run the server type in:
Your REST server is live and ready for slicing. It should also display the IP address and the port. We will need them for setting up our webhook.
Step 2: Set up your workflow and the webhook endpoint
You should create a new dataset and upload the images you want to split into patches. When prompted, select the basic workflow.
Now—
You can remove the review stage and add a webhook stage in its place.

To configure the webhook you need to add the URL (the IP address of the server) with a “target” parameter (in this case, the name of our dataset). If we want to use the local server, this means adding something like:
Notice that the name has to match the name of your dataset. In our example it is Patches.

Through this webhook, V7 Darwin will send an HTTP request to the "endpoint" (the URL of the REST server) whenever the image moves to the next stage. The REST server will take the image and slice it into patches.
OK—
But how will the server know how to crop and split the image?
Well, that’s the last part—we can use annotations to specify that.
Step 3: Add the bounding box annotations
The server is configured to crop images into patches along areas demarcated by the annotations. We can do this by using the Bounding Box annotation tool.
Now, here is an important detail—the name of your class should be either "patch" or "crop" to make things work.

Use a bounding box to select your crop area.
Additionally, you can change the name of your annotation class to specify how many equal parts you want the image to be divided into. Just add (AxB) to the name of your annotation.

You can change the name of your annotations in the Classes tab in your dataset view.

That’s it!
You can click the Send to Webhook button.
The image has been split into 8 patches that were automatically added to a new dataset.
This technique can be used to quickly create datasets of smaller images that can be used to train machine learning models.
By setting up a local REST server and using webhooks to connect it to your V7 Darwin workflow, you can add custom behavior to your pipeline. This is an easy and efficient way to extend the functionality of V7 and automate tasks that would otherwise require manual labor.
You can learn more about using webhooks from our documentation pages:


