Data labeling
9 Essential Features for a Bounding Box Annotation Tool
10 min read
—
Jul 6, 2021

What makes a good bounding box annotation tool? Take a look at our cherry-picked list of nine essential features that every bounding box tool should offer.

Co-founder & CEO
There are plenty of image annotation platforms out there, and a bounding box tool seems like a simple enough functionality.
But here’s the thing—
The accuracy and quality of your bounding boxes define your model performance, and you may need millions of these to build the most accurate model to market within your use case.
Have you taken the time to consider every feature that will help you achieve this?
We spoke to hundreds of teams labeling data with bounding boxes and listed (plus implemented at V7) features that we believe every bounding box annotation tool should offer:
Easy class creation
Responsiveness of interactions
Video interpolation
Copy-paste, and other power user hotkeys
Attributes and other sub-annotations
Maximum annotation limits
View controls, overlaps, and image manipulation
Polygons and ellipses with boxes
API functionalities and common bugs
But before exploring each feature more in-depth, let’s quickly discuss bounding box annotation basics.
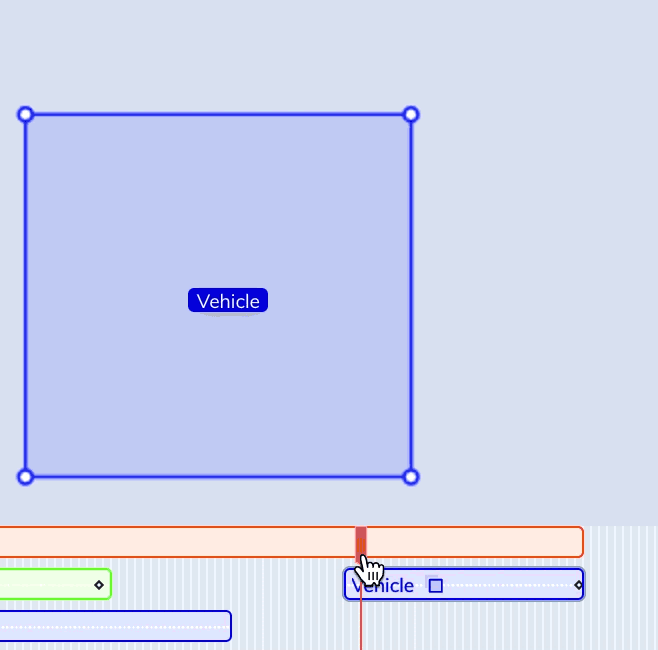
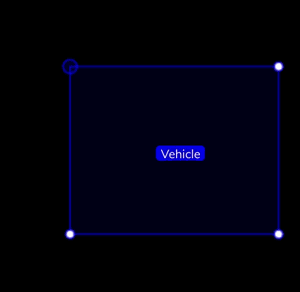
Bounding box annotations
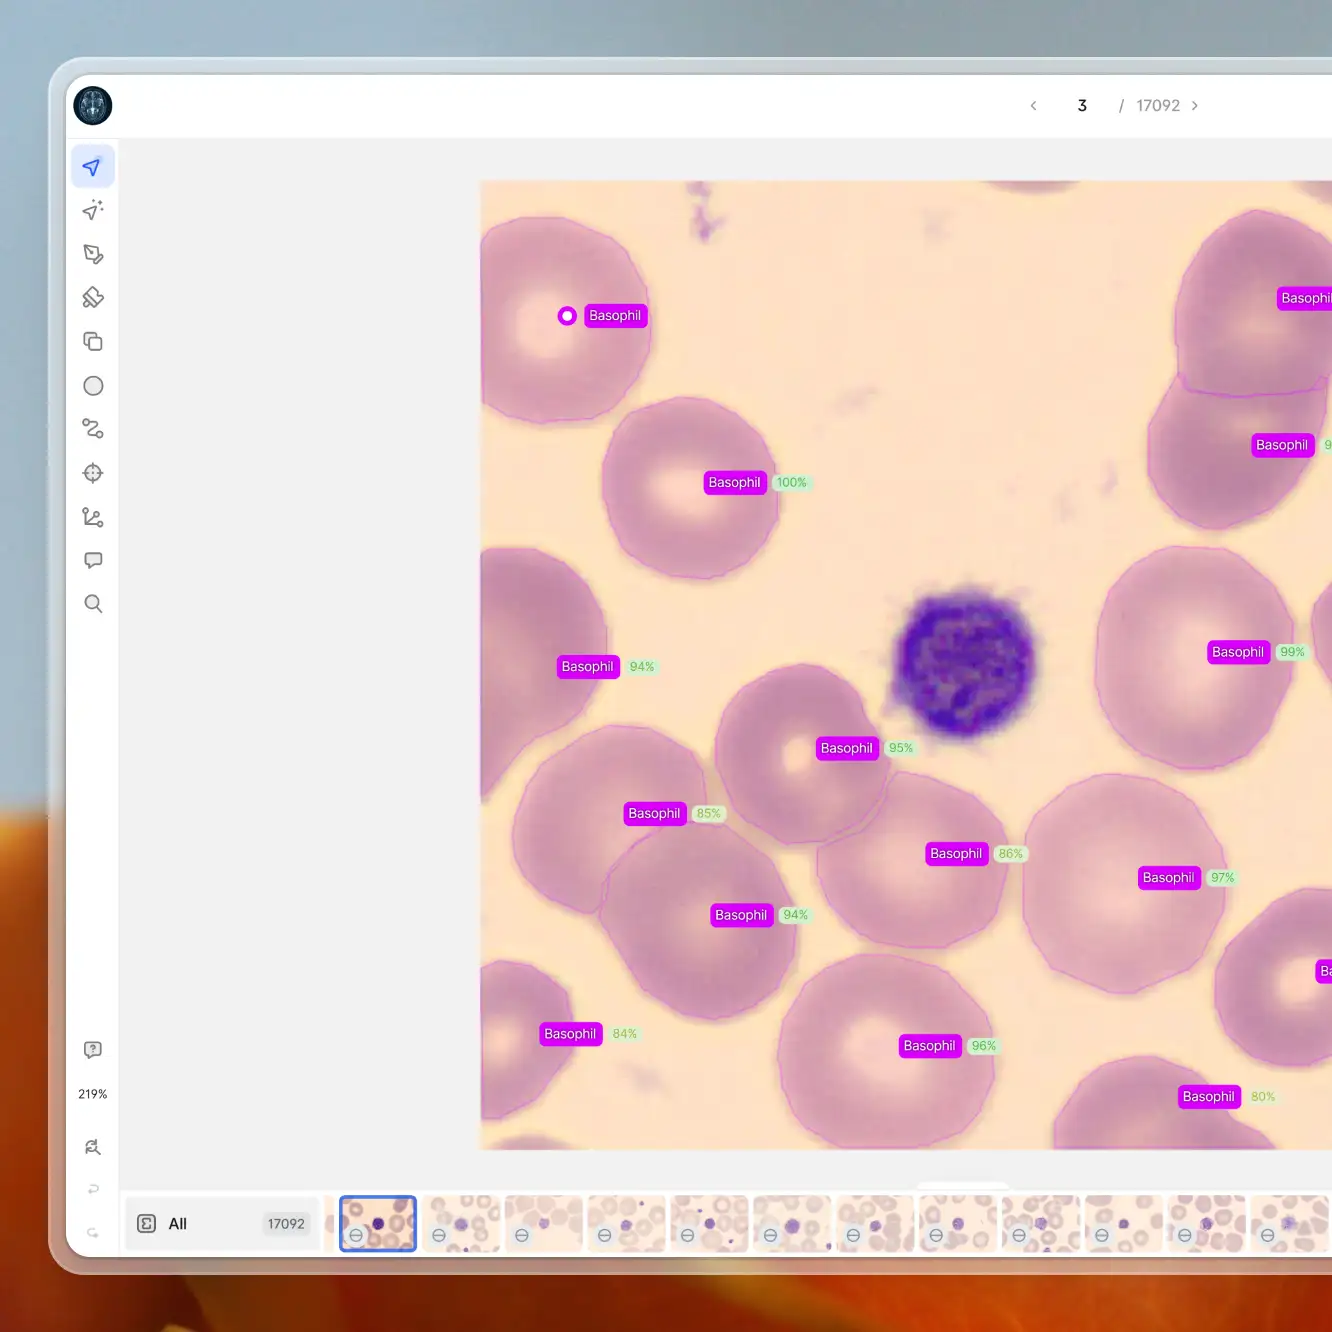
A bounding box is an imaginary rectangle drawn around the object that describes its spatial location. It’s the most basic tool used for object detection and localization tasks.
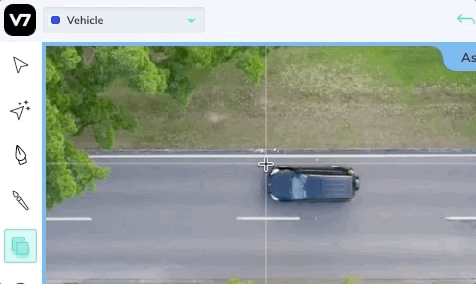
Here’s how you can perform bounding box annotations using V7.
Bounding box annotations contain the coordinates with information about where the object is located in the image or the video. They are suitable for uniformly shaped objects, low-compute projects, and objects that don’t overlap.
V7 allows you to draw bounding boxes with pixel-perfect precision, add attributes, copy-paste boxes of similar size, interpolate them in the video, and easily convert polygon masks to bounding boxes.
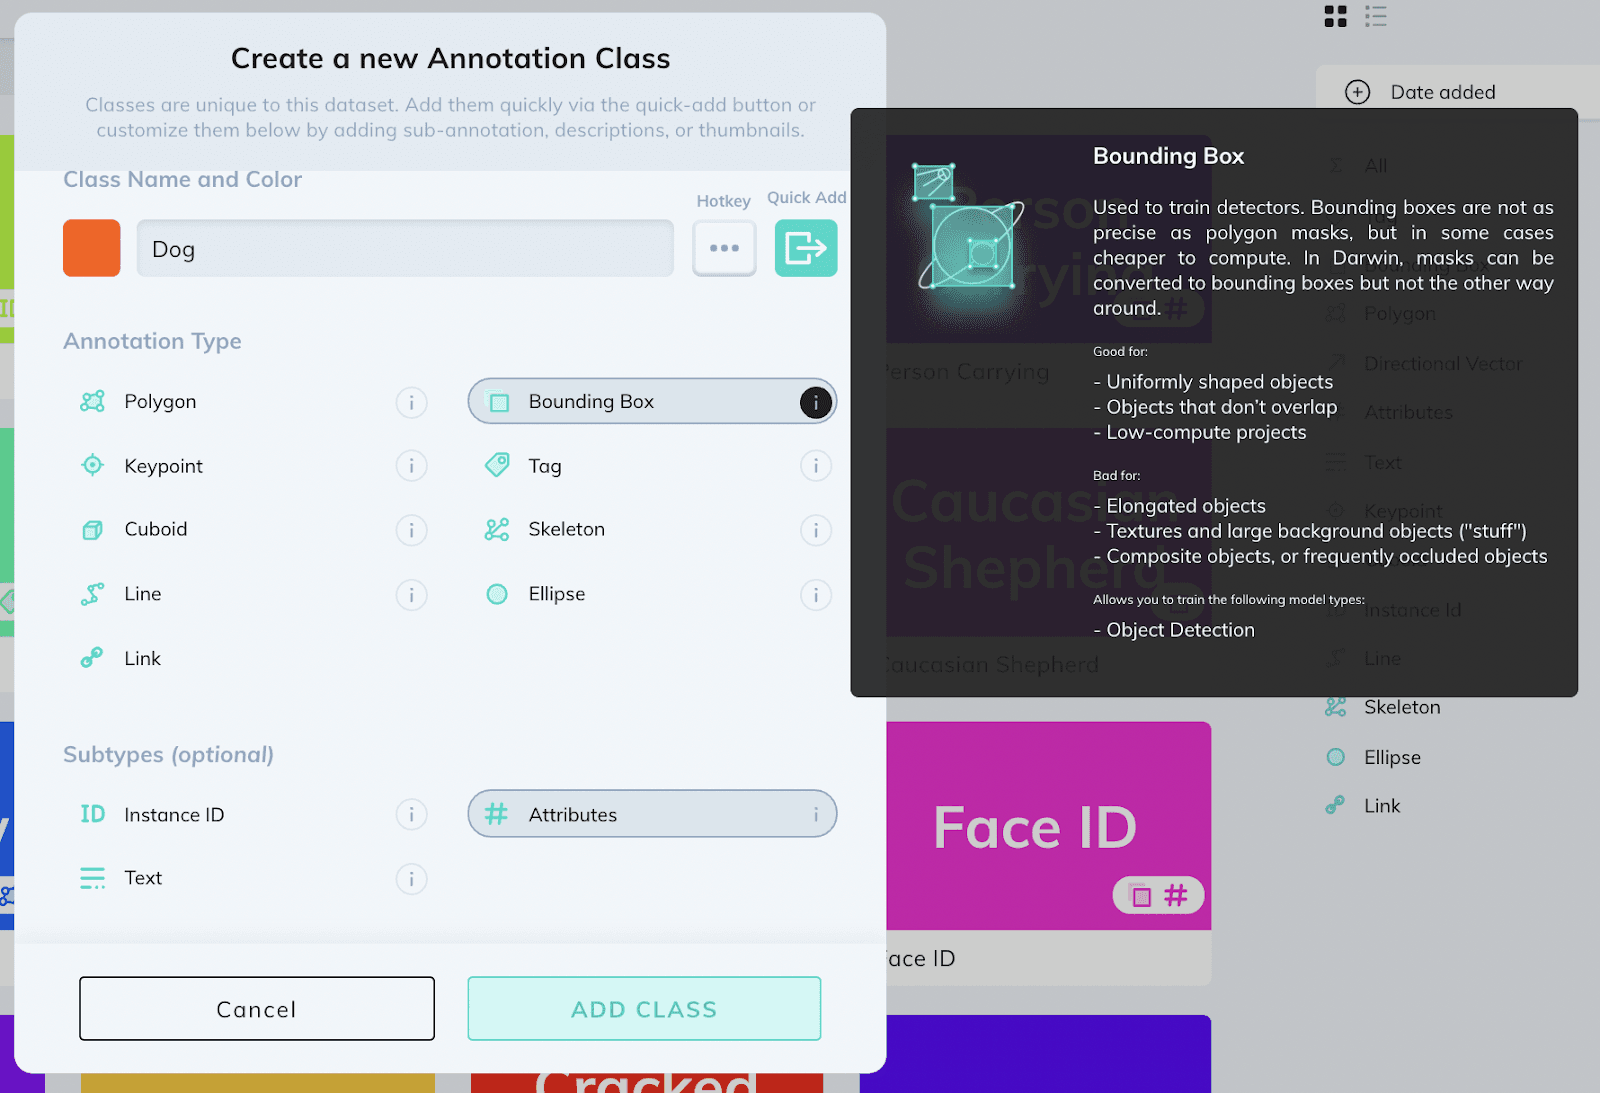
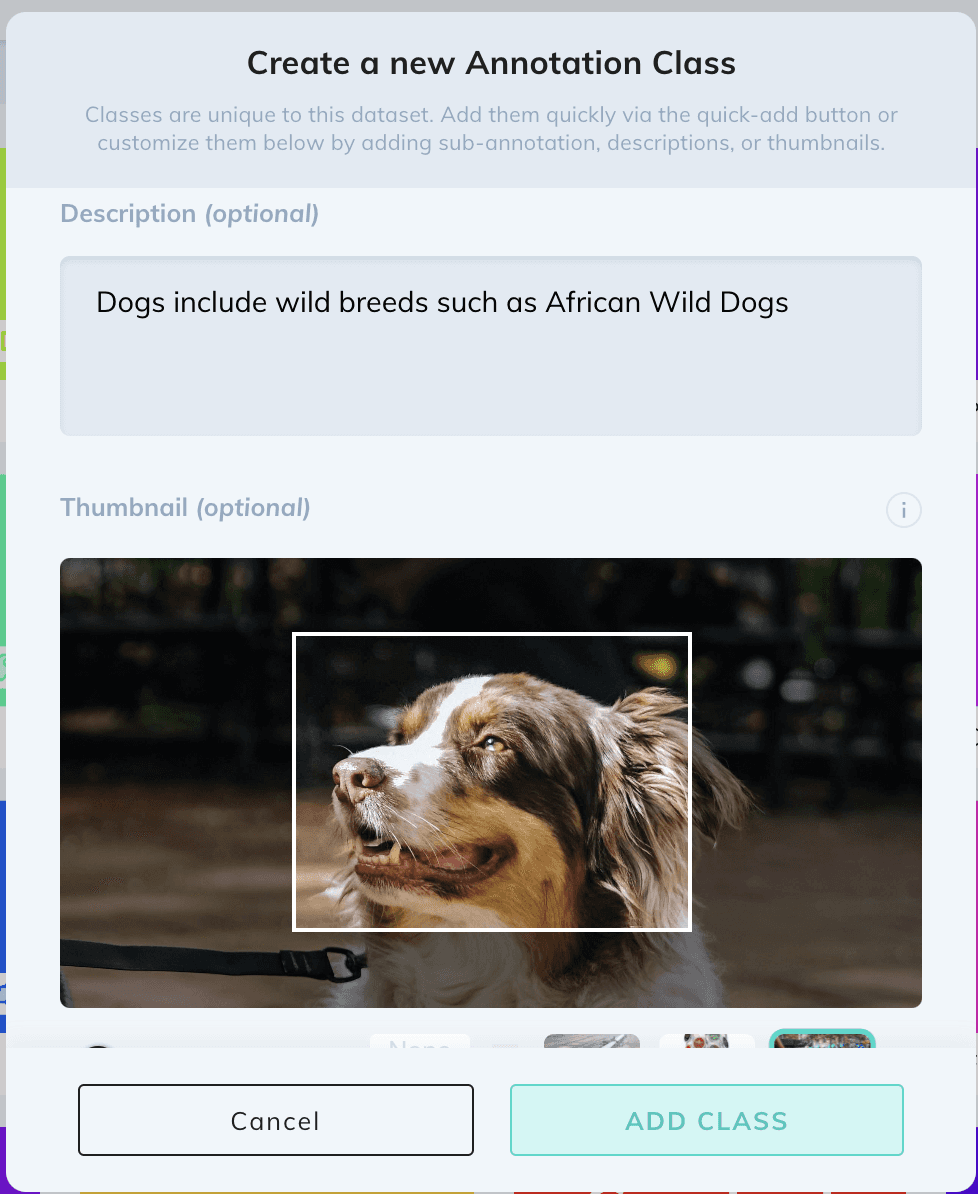
Easy Class Creation
The first thing to look out for is your class structure.
Making a box is easy, but—
How is that data stored?
Classes are the names of objects in a dataset. If you’re building a service to detect dents and scratches, you will want to make sure these two entries can be reused in new projects, or branched out hierarchically as your data grows.
Here are a few must-have functionalities:
Bounding box classes can be used across projects.
Class creation has a simple enough interface to be used by non-technical users.
You can add at least 1 thumbnail to represent the object.
You can add a description or instructions for this class.
You can assign it a hotkey.
Below is the class creation experience on V7.
We kept our design language consistent and added rich info tooltips to inform users of what each functionality does because we understand that not everyone is familiar with computer vision terminology.
Boxes that feel good—Responsive interactions
Prior to building V7, we tested several bounding box tools in the market and found that most didn’t prioritize interaction design.
Placing and editing millions of bounding boxes requires a very smooth user experience.
Here are the things to look out for:
Are the corners and edges of boxes easy to move and adjust? Does this smoothness persist when images are full of annotations?
Are their coordinates sub-pixel accurate? Is this reflected in the export files?
Are they easy to interact with on touch interfaces?
Was the cursor designed to “snap” to corners to facilitate speedy edits?
Video interpolation
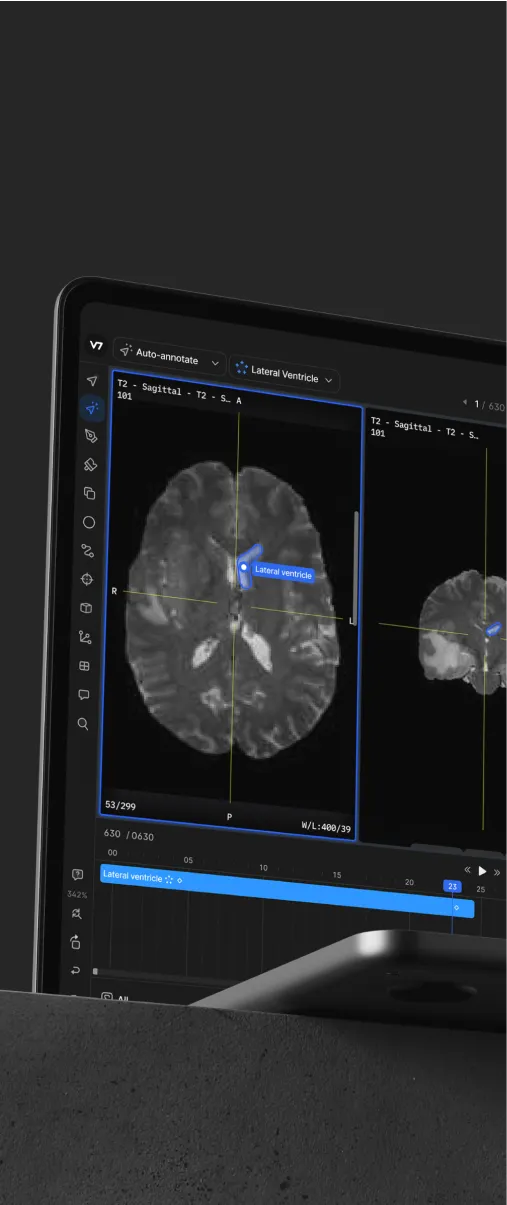
V7 supports videos and a number of series-like data like volumetric MRI or CT scans or time-lapses.
All of these allow you to interpolate boxes throughout a sequence smoothly.
We spent six months prototyping our video annotation features to ensure a seamless video labeling experience. We wanted an experience that required minimal tweaks on the timeline, automatically generating keyframes where you can edit boxes manually or using models.
We’ve also separated position keyframes with attribute keyframes, allowing bounding boxes to gain or lose attributes or other sub-annotations throughout the video as part of the same instance.
Here are a few things to look out for:
Do bounding boxes interpolate, or alternatively, do they track objects?
Tracking in image annotation isn’t as good as it may sound initially. Trackers focus on individual features (usually at the center of an object) while bounding boxes rely on the edges of an object being pixel perfect. Therefore, they can create more work than necessary and you might need to adjust box edges for each frame.
Do bounding boxes preserve their instance ID throughout the video?
Can you add attributes in the video, and can they have keyframes so they can be switched on and off temporally?
Most importantly: Is the video system frame accurate?
HTML5 video players aren’t, they can have errors of up to 200ms. Most video labeling tools rely on browser-based video players, resulting in the exported box timecode not matching with the original files. This can happen at an point throughout a video and is most prevalent in CCTV.
Copy-paste, and other power user shortcuts
Got a few similar objects to annotate using bounding boxes?
Copy-pasting your boxes can be very handy at speeding up your annotation process. It also ensures that your annotations are consistent for the same objects located in different areas of an image or a video.
Are hotkeys a priority in your annotation tool?
Your labeling team should attempt to turn everyone into a power user. Keyboard shortcuts are a good way to get more training data and less fatigue (which leads to some of the hardest training data errors to spot).
Shortcuts to consider are switching classes, cycling between boxes, or points in a box. V7 also offers keyboard shortcuts for moving annotations and moving individual points of boxes.
Some projects might require you to copy all your annotations from one image to another. It often happens when your dataset images are sequential.
We added a button on V7 to carry over annotations from one image to another.
Here are things to look out for in power user shortcuts:
Can you copy/paste boxes?
Can you only paste attributes from one box to another?
Can you switch between any class without needing to switch from keyboard to mouse?
Can you cycle between bounding boxes to quickly perform a quality review using a single key and camera controls?
Can you edit the size and position of boxes using your keyboard?
We’ve added a handy list of shortcuts on every page and append each next to a button to encourage learning them while using the platform with a mouse.

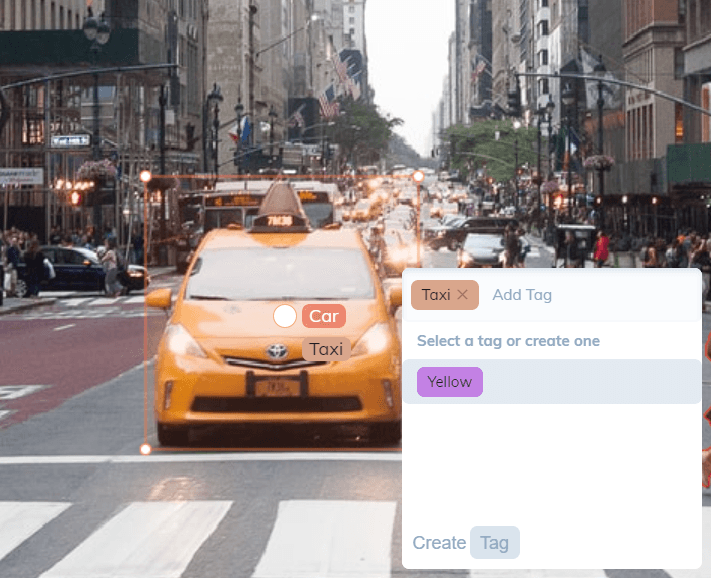
Bounding boxes attributes and other sub-annotations
Attributes are simply annotation tags that can define the specific features of a given object.
Many object detection projects require labelers to add label attributes on top of the bounding box annotation—it helps describe a given object in greater detail.
For example, it’s common to add label attributes such as occluded, truncated, and crowded, indicating that annotated objects are in close relationship with other objects in the image.
V7 allows you to add attributes to your bounding box annotations. You can annotate an image and add as many tags as you need to describe an object on a much more granular level.
We also included the ability to add other sub-annotation types, such as free text, directional vector, a custom ID (used in object re-identification, multi-camera setups, or other edge cases), and there are many more to come.
Here are things to watch out for in sub annotations:
Can you add attributes to bounding boxes?
Are attributes re-usable in other classes (in other words, do they become entries as part of that class right away?)
Can attributes be inserted easily and is there keyboard shortcut support for them? (attribute application accounts for >50% of most bounding box labeling projects)
Are other sub-annotation types similarly designed to support shortcuts?
Can you easily remove attributes during the review?
Can you edit them once they are created, and do these changes propagate to the whole dataset?
Note: A few annotation tools have dataset management capabilities, which means that if you make a change to an attribute or class name after creating it, you might have to go and propagate the change to every annotation file using a script to avoid breaking changes.
This can be incredibly frustrating, so it's always best to invest in a dataset management solution before you start any labeling project.
Visibility options for bounding boxes
Drawing and editing boxes are one part of the challenge.
But—
How easily can you see them and the image below them?
Z-stack
V7 was built to have every annotation with an editable Z-value, You simply have to drag an annotation to reorder it.
The same can be done in the video timeline, with an option to automatically adjust this order to save vertical space.
This one is especially useful when you have hundreds of annotations—such as in sports analytics.

Image Manipulation Options
You can also adjust the box opacity, border opacity, and visual features of the image.
V7 also has windowing and color map options, which allow you to see elements of the image not visible by the naked eye in regular RGB monitors.
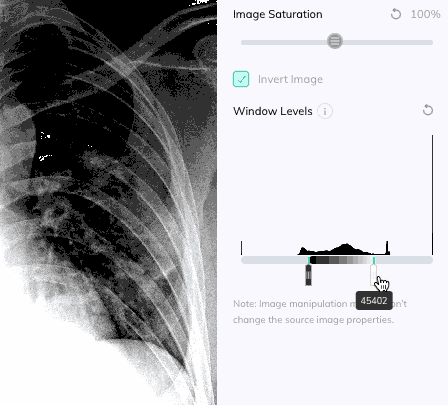
In the example above, this x-ray has over 6,000 units of greyscale color per pixel, whilst our monitors can only display 255.
Check out Medical Image Annotation using V7.
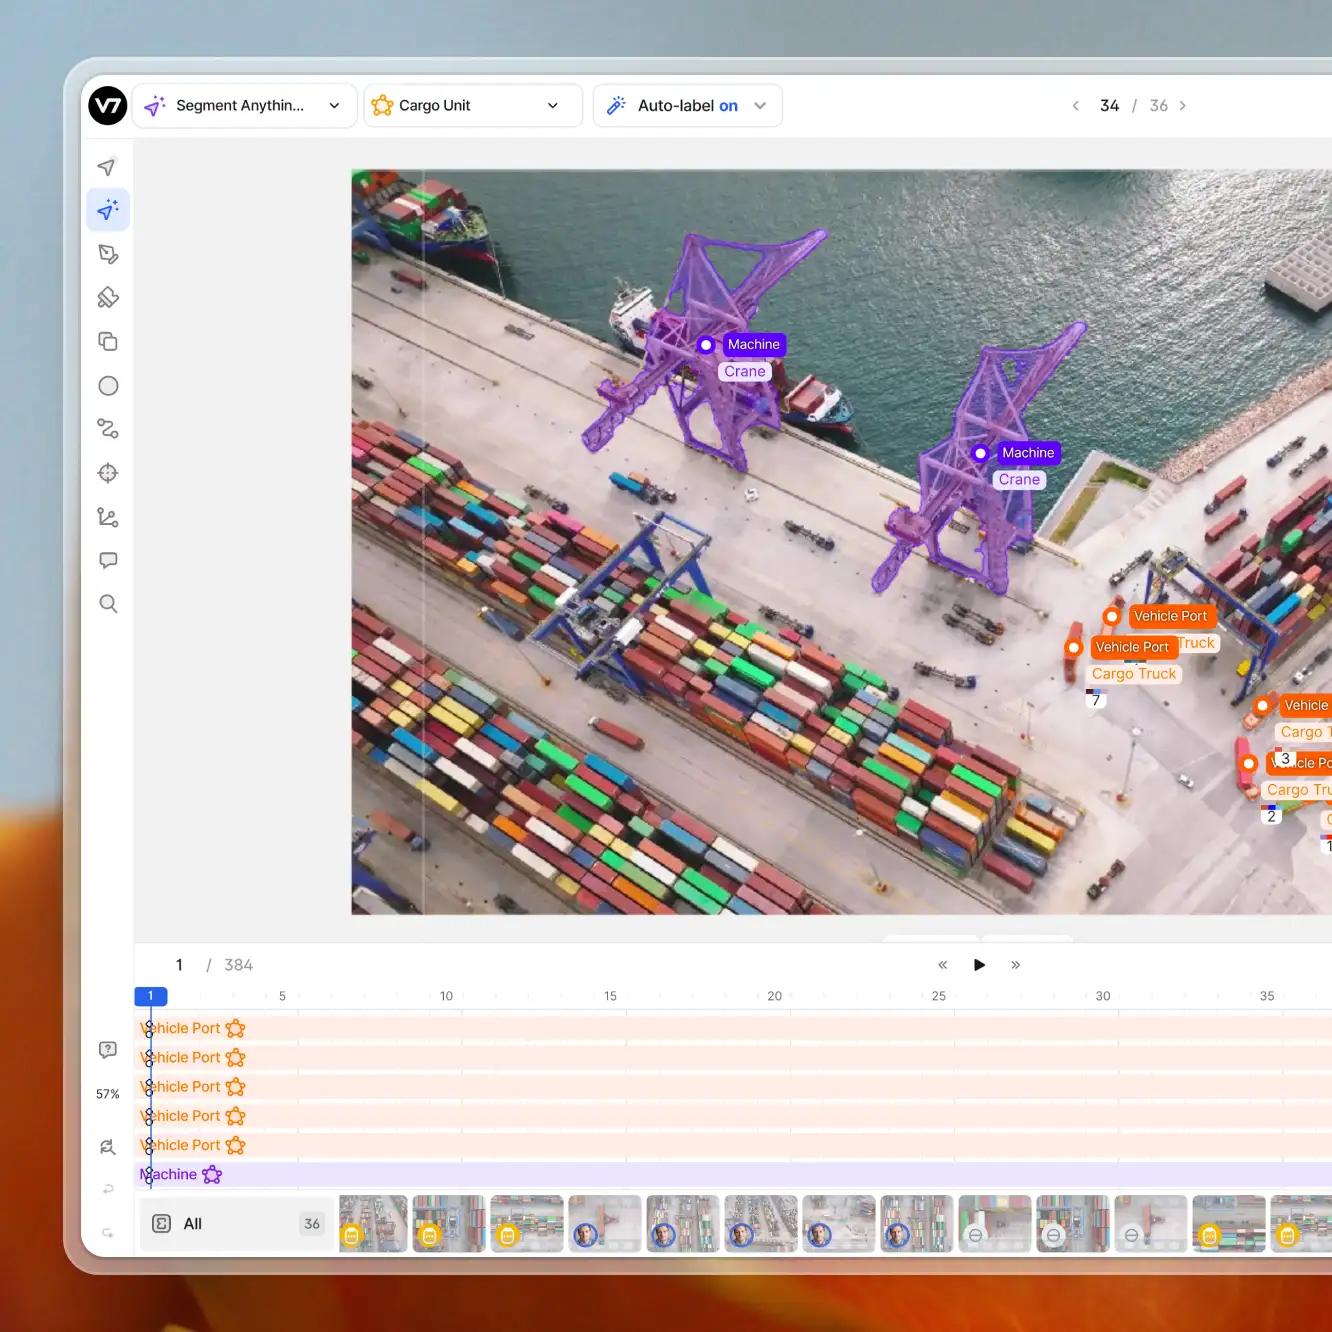
How many annotations can it handle?
Most JavaScript libraries aren’t made to handle the scale that AI projects bring to the table.
Make sure that your tool is tested for performance when hundreds of bounding boxes enter the scene. This is especially important in videos where annotations must be kept in memory to ensure smooth playback.
At V7 we established our maximum at 10,000 per image. It’s the highest in the market by an order of magnitude. The same goes for polygons and other annotation types.
The GIF below shows over 500 polygons with over 50 coordinate points each.
You can technically add more than 10,000 annotations per frame on V7 but will start seeing performance issues unless your machine is top-notch.
Here are things to consider:
How many boxes per image can the tool handle?
What happens if the boxes all contain attributes, does the limit change?
Have you tested the platform on a video or a high-resolution image when there are hundreds of boxes in the scene?
What features start to perform poorly when images become very busy?
Ready to train your models? Have a look at Mean Average Precision (mAP) Explained: Everything You Need to Know.
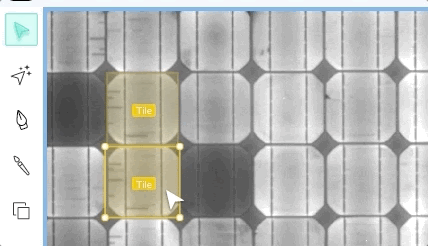
Converting other annotations to Bounding Boxes
Some annotation formats such as COCO expect a bounding box to be around each polygon. Models like Mask R-CNN also benefit from this detector/segmenter approach.
We give you this option out of the box.
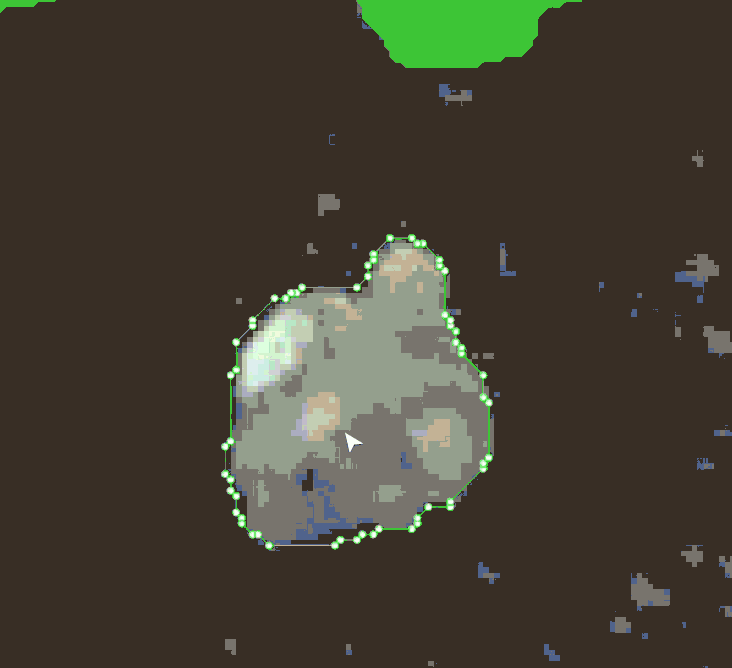
Since it’s easy to make polygons on V7 using Auto-Annotate, you can export these as bounding boxes.

Moreover, you won’t have to make a box “around” a polygon, you can simply draw a polygon and use its “free” surrounding box to train a detector.
API functionalities and common bugs to watch out for
Ultimately, nothing can be more dangerous than a tool you commit to and encounter breaking bugs in its API halfway through your project.
Here are the most common bugs, or feature failures that we’ve encountered across image annotation tools, in order of frequency:
The coordinates of imported boxes don’t align perfectly with the source image.
The tool doesn’t support common computer vision annotation formats or requires them to be modified.
You cannot export past a certain number of images in one go.
When a class or attribute is edited, these no longer show up in exports or their changes don’t propagate throughout a dataset.
When datasets become really large, database failures cause images to lose their annotations randomly.
Annotation histories are not preserved, therefore old versions cannot be restored in case of bad bulk changes.
The API doesn’t have a set of easy CLI commands.
You cannot import annotations into videos.
The bounding box coordinates round to the wrong pixel.
These are all issues we’ve heard of at least once from customers who were switching from their internal tools or other labeling platforms.